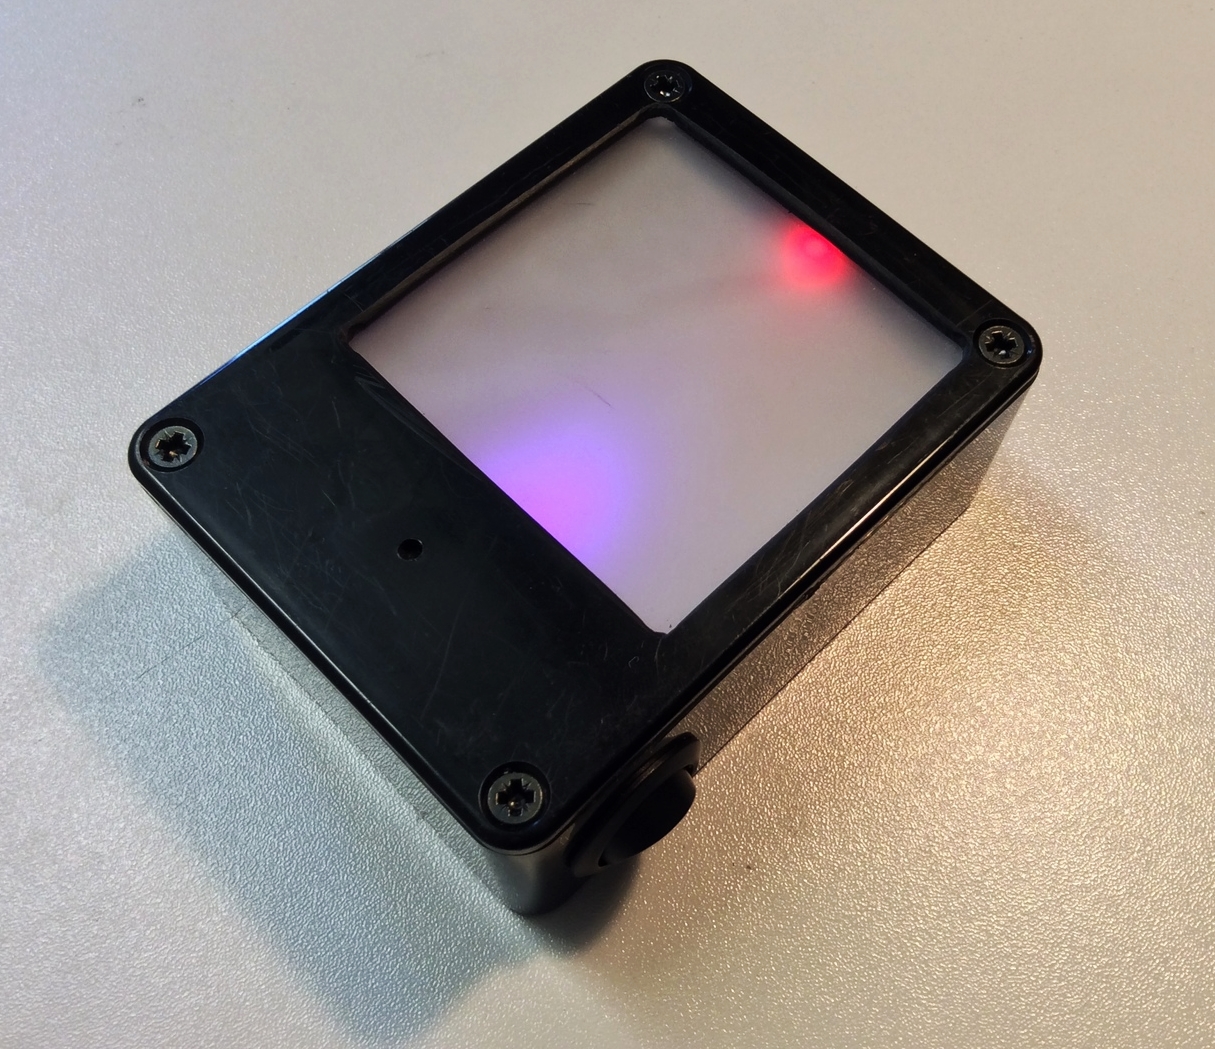
The Fire Box is a sound reactive box. It features a microphone that produces a flame effect when sound is detected. The louder the sound, the bigger the flame. The light element is produced using an 8x8 matrix of LEDS. We followed this instructable and adapted it for our needs. The total cost of the parts for this project were £36.90. We used a Rainbowduino, product information about this can be found here. Clicking on the name of each component will take you to the site we purchased it from.
The components we used were:
Rainbowduino @£21.35
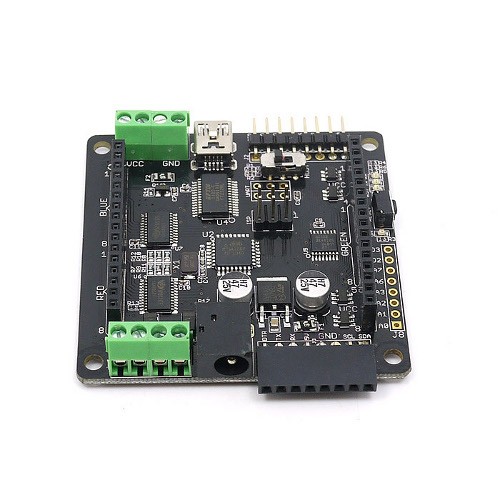
https://www.coolcomponents.co.uk/rainbowduino-v3-0-led-driver-platform-atmega-328.html
LED Matrix @£9.52

https://www.coolcomponents.co.uk/8x8-rgb-led-matrix-square-led-dot.html
Sound detection module @£2.40
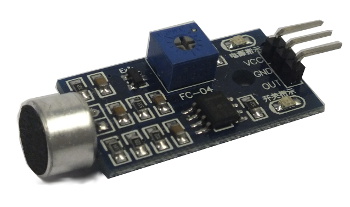
http://www.bitsbox.co.uk/index.php?main_page=product_info&cPath=302_309&products_id=2313
Rocker switch @£0.68p
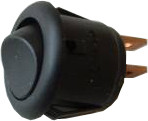
http://www.bitsbox.co.uk/index.php?main_page=product_info&cPath=116_136&products_id=908
Project Box @£2.17
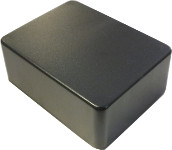
http://www.bitsbox.co.uk/index.php?main_page=product_info&cPath=185_186&products_id=1407
9V Battery clip @£0.28p
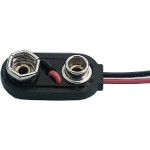
http://www.bitsbox.co.uk/index.php?main_page=product_info&cPath=192_194&products_id=1428
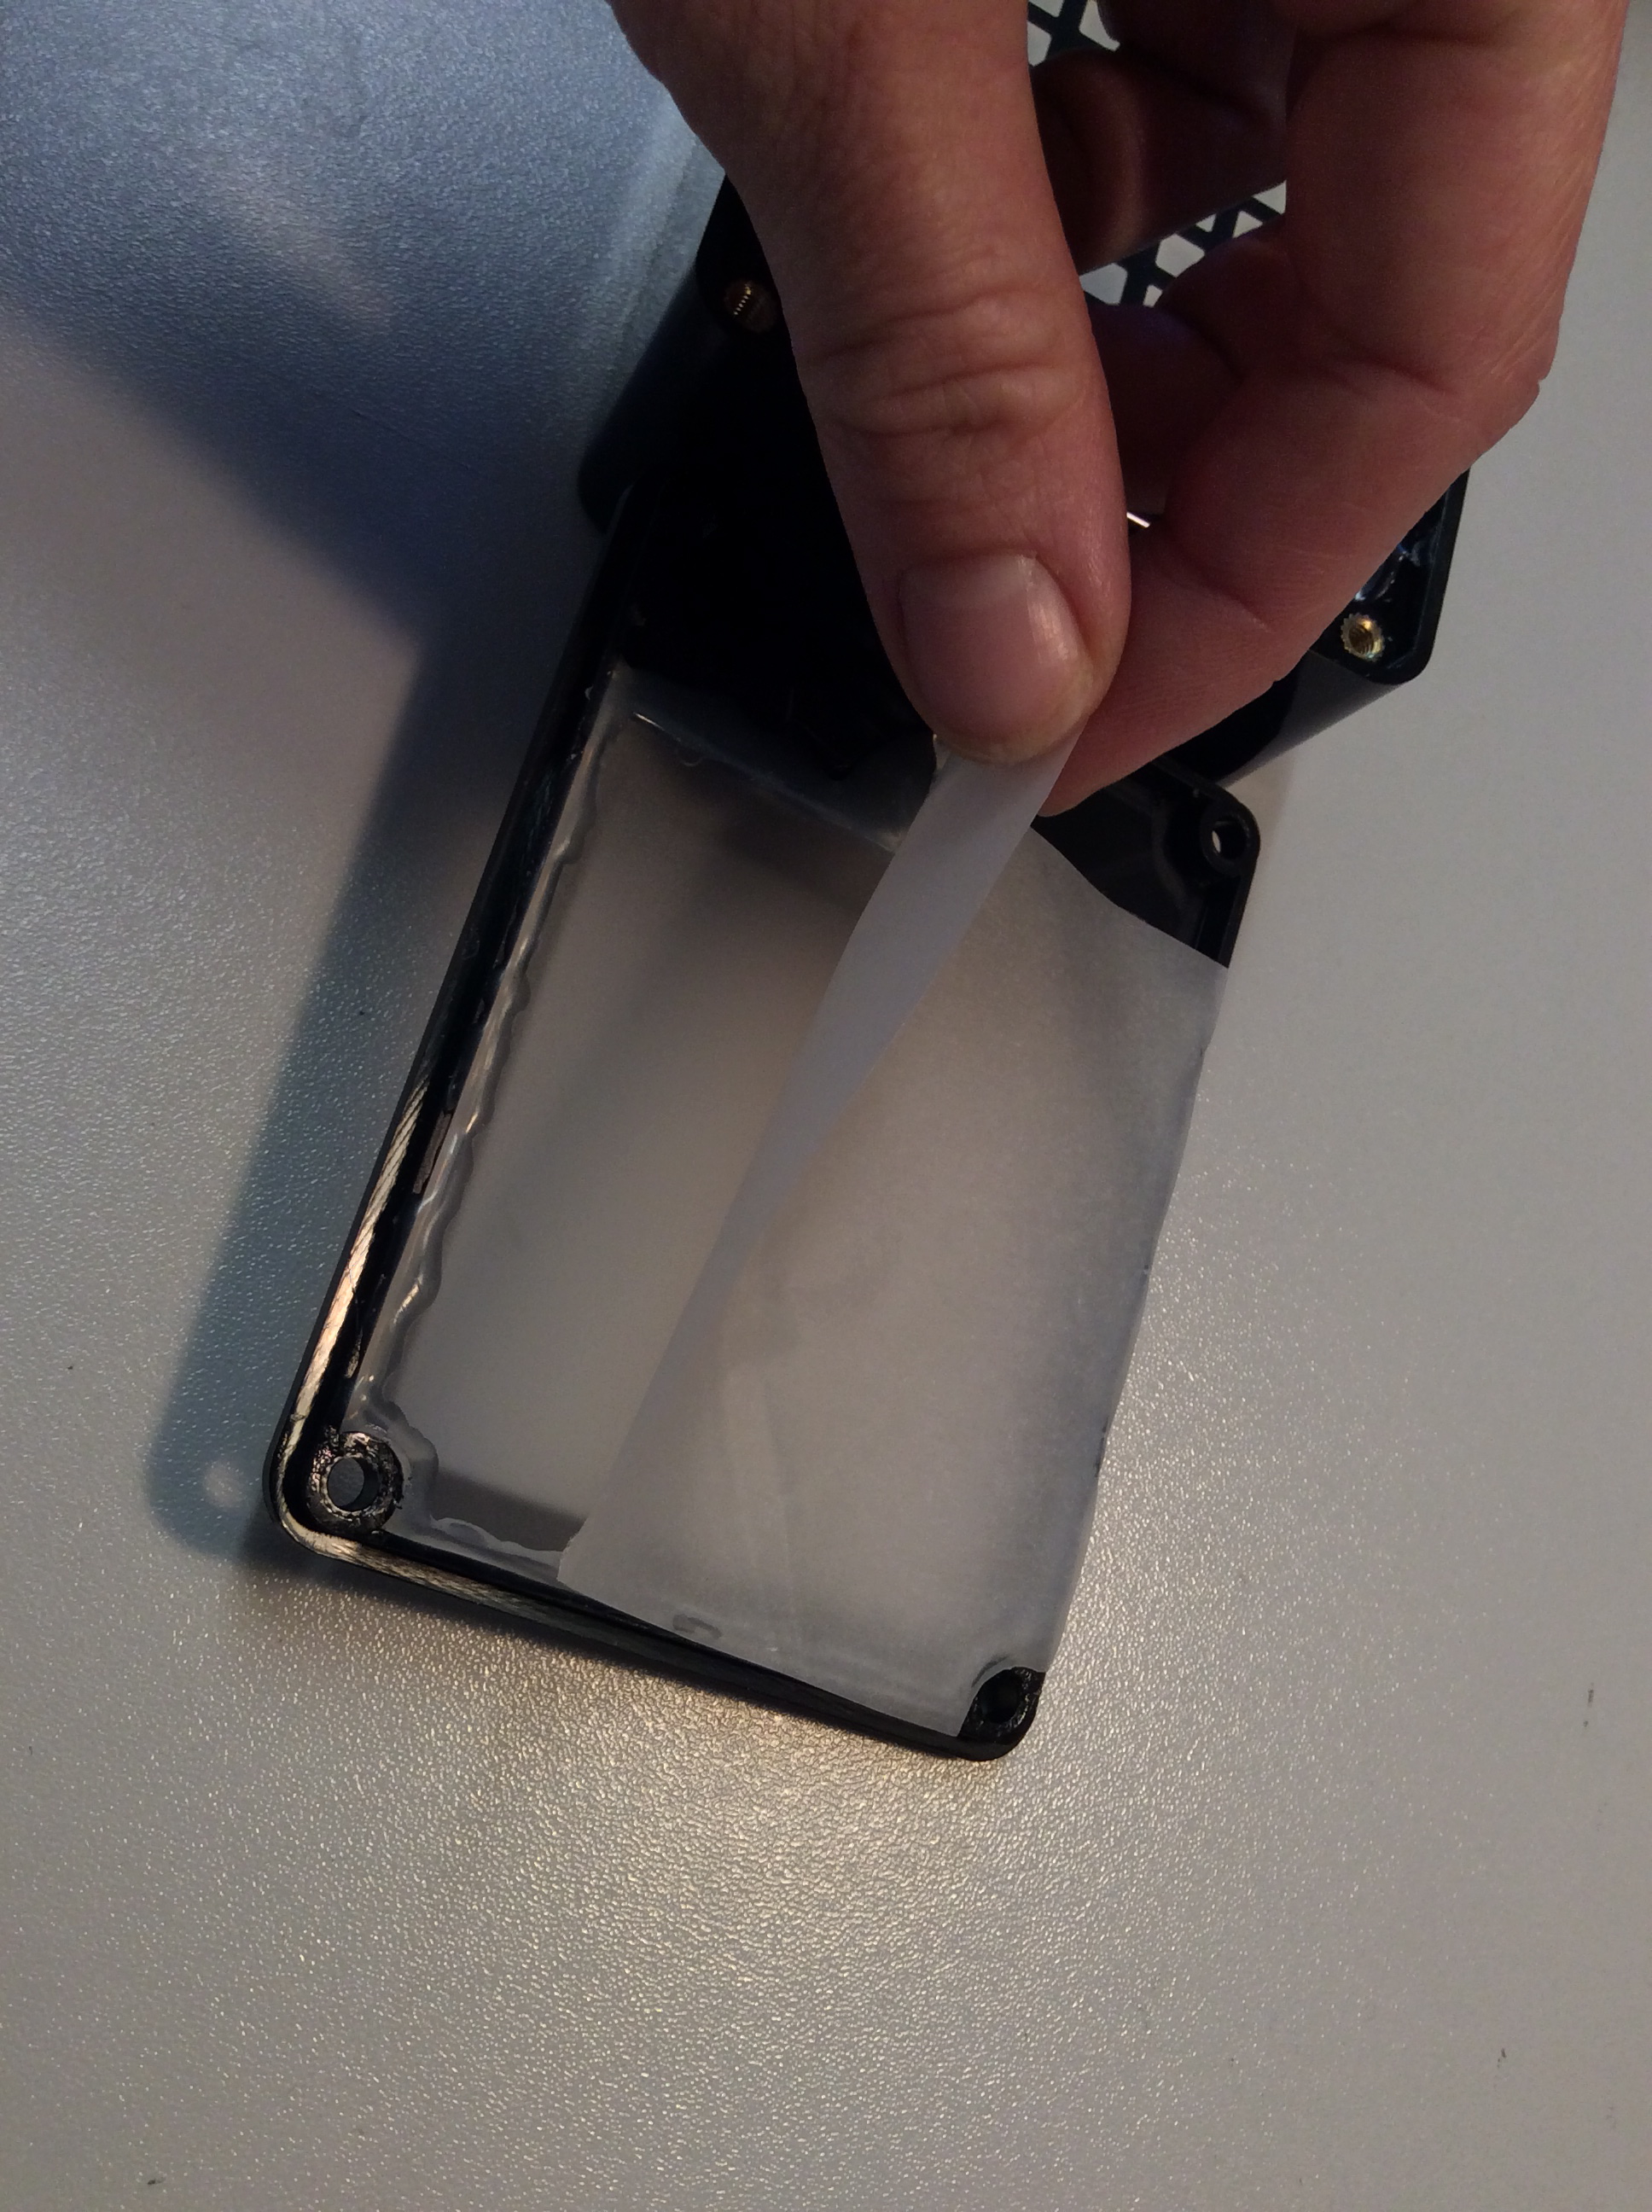
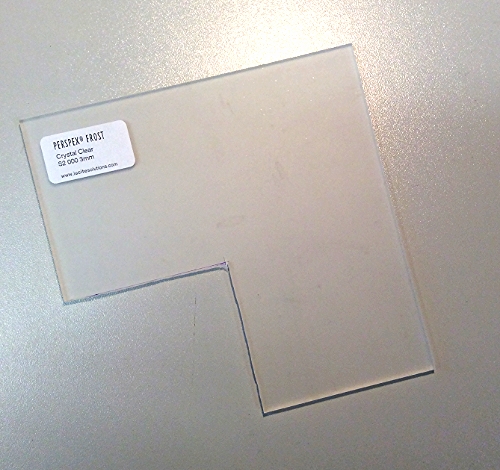
Acrylic sample. This was part of a free sample pack from perspex.com called persex frost in crystal clear. There are many options for purchasing acrylic, Ebay is a good one. We placed a piece of tracing paper over this on the inside of the box for extra diffusion.
http://www.cutlasercut.com/laser-cutting-materials-laser-engraving-materials/white-frost-acrylic-sheet
We used the Arduino programming environment to upload data to the board. The main library required is the one entitled;
The Rainbowduino has the same chip as the duemilanove so select that from the dropdown under the board menu. An additional library was used from the instructables tutorial available here. The example we used was called FlameSound, there are other examples in that library that are nice too.
To put it all together;
Connect the microphone following the diagram below. We added extra cable from the microphone capsule to the rest of the amplifier unit so we could more easily fit it in the project box and extra cable from the amplifier module to the Rainbowduino also.

Attach the battery (using the battery clip) and the rocker switch and, after preparing the project box as below, to the Rainbowduino using the digram below. The + and - connectors screw into the Rainbowduino. The rocker switch is a push to make switch.

To prepare the project box:
- We cut out a 60mm x 60mm window in the top of the box
- We cut a 65mm x 65mm square of acrylic and hot glued it into place behind the hole, as the screw holes were on the edges of the acrylic we had to file them down to be able to put the screws through
- We placed the same size square of tracing paper over the acrylic on the inside of the box
- We drilled a small 3mm hole below the window to allow sound to the mic capsule
- We drilled a 15.2mm hole on the side of the box for the rocker switch, we used step drills like these. In our experience these are kindest to the project boxes. Other types of drill head, such as the flanged ones, tend to rip the box up or rip your hand off. The step drills provide a nice smooth edge.
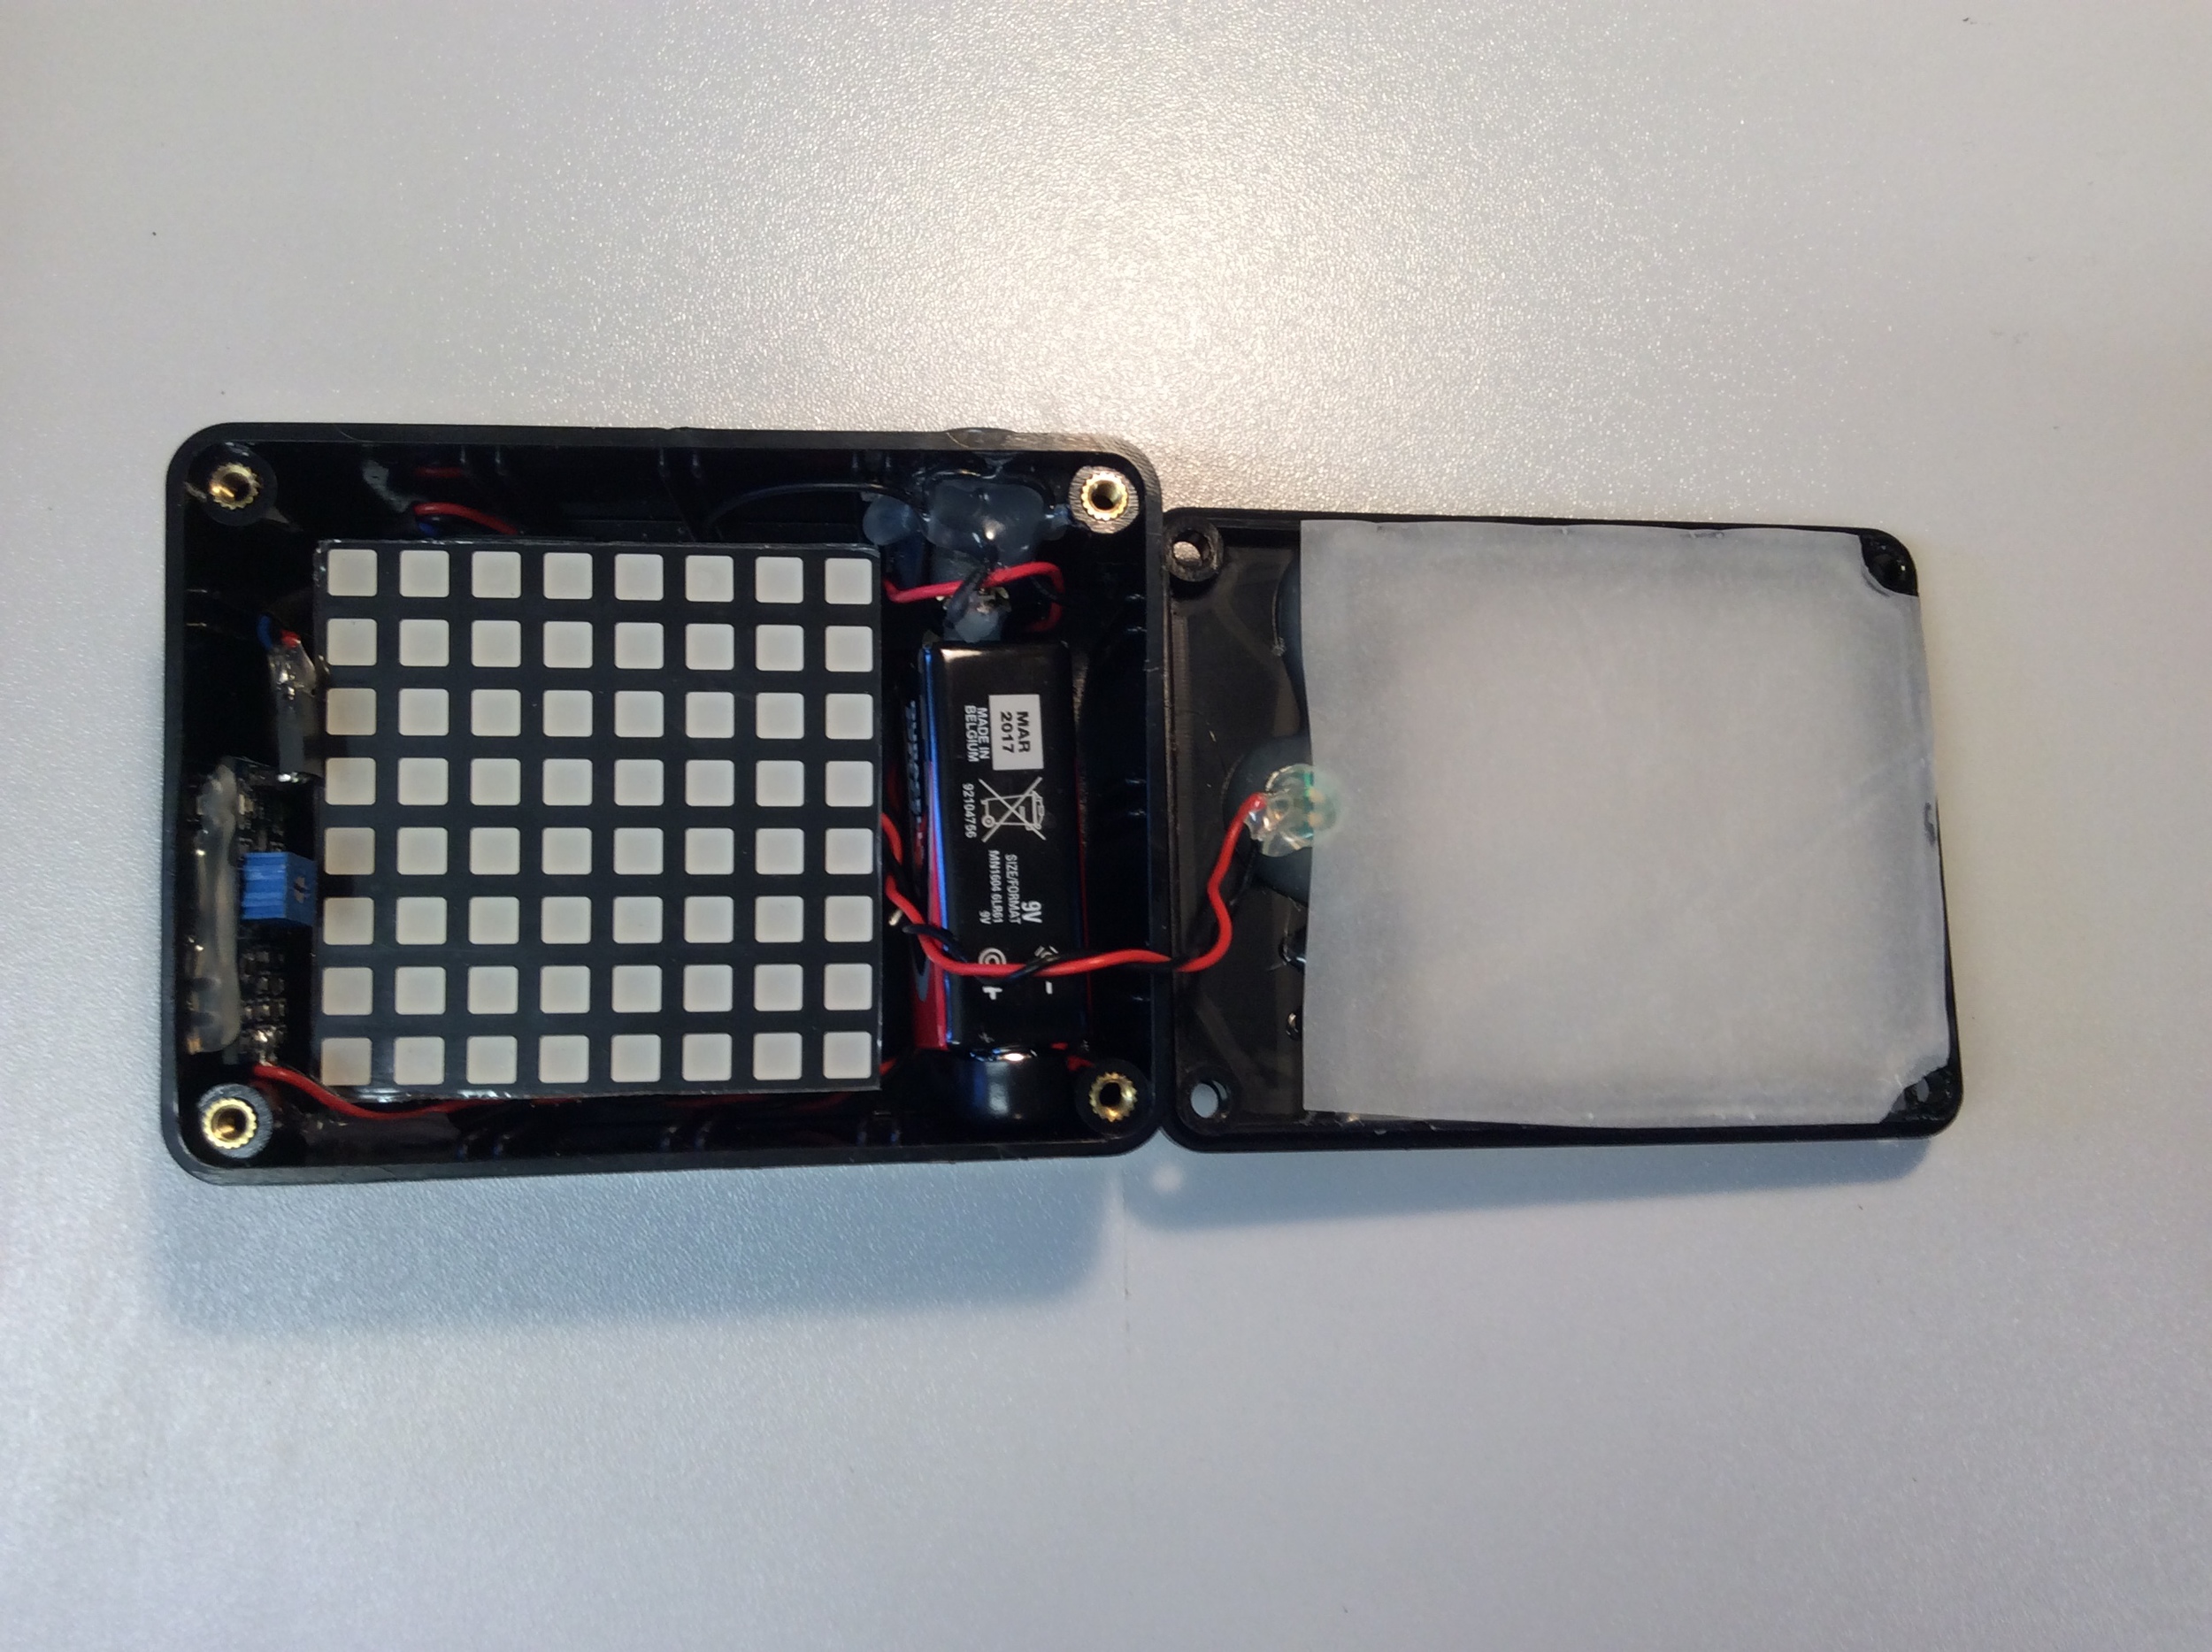
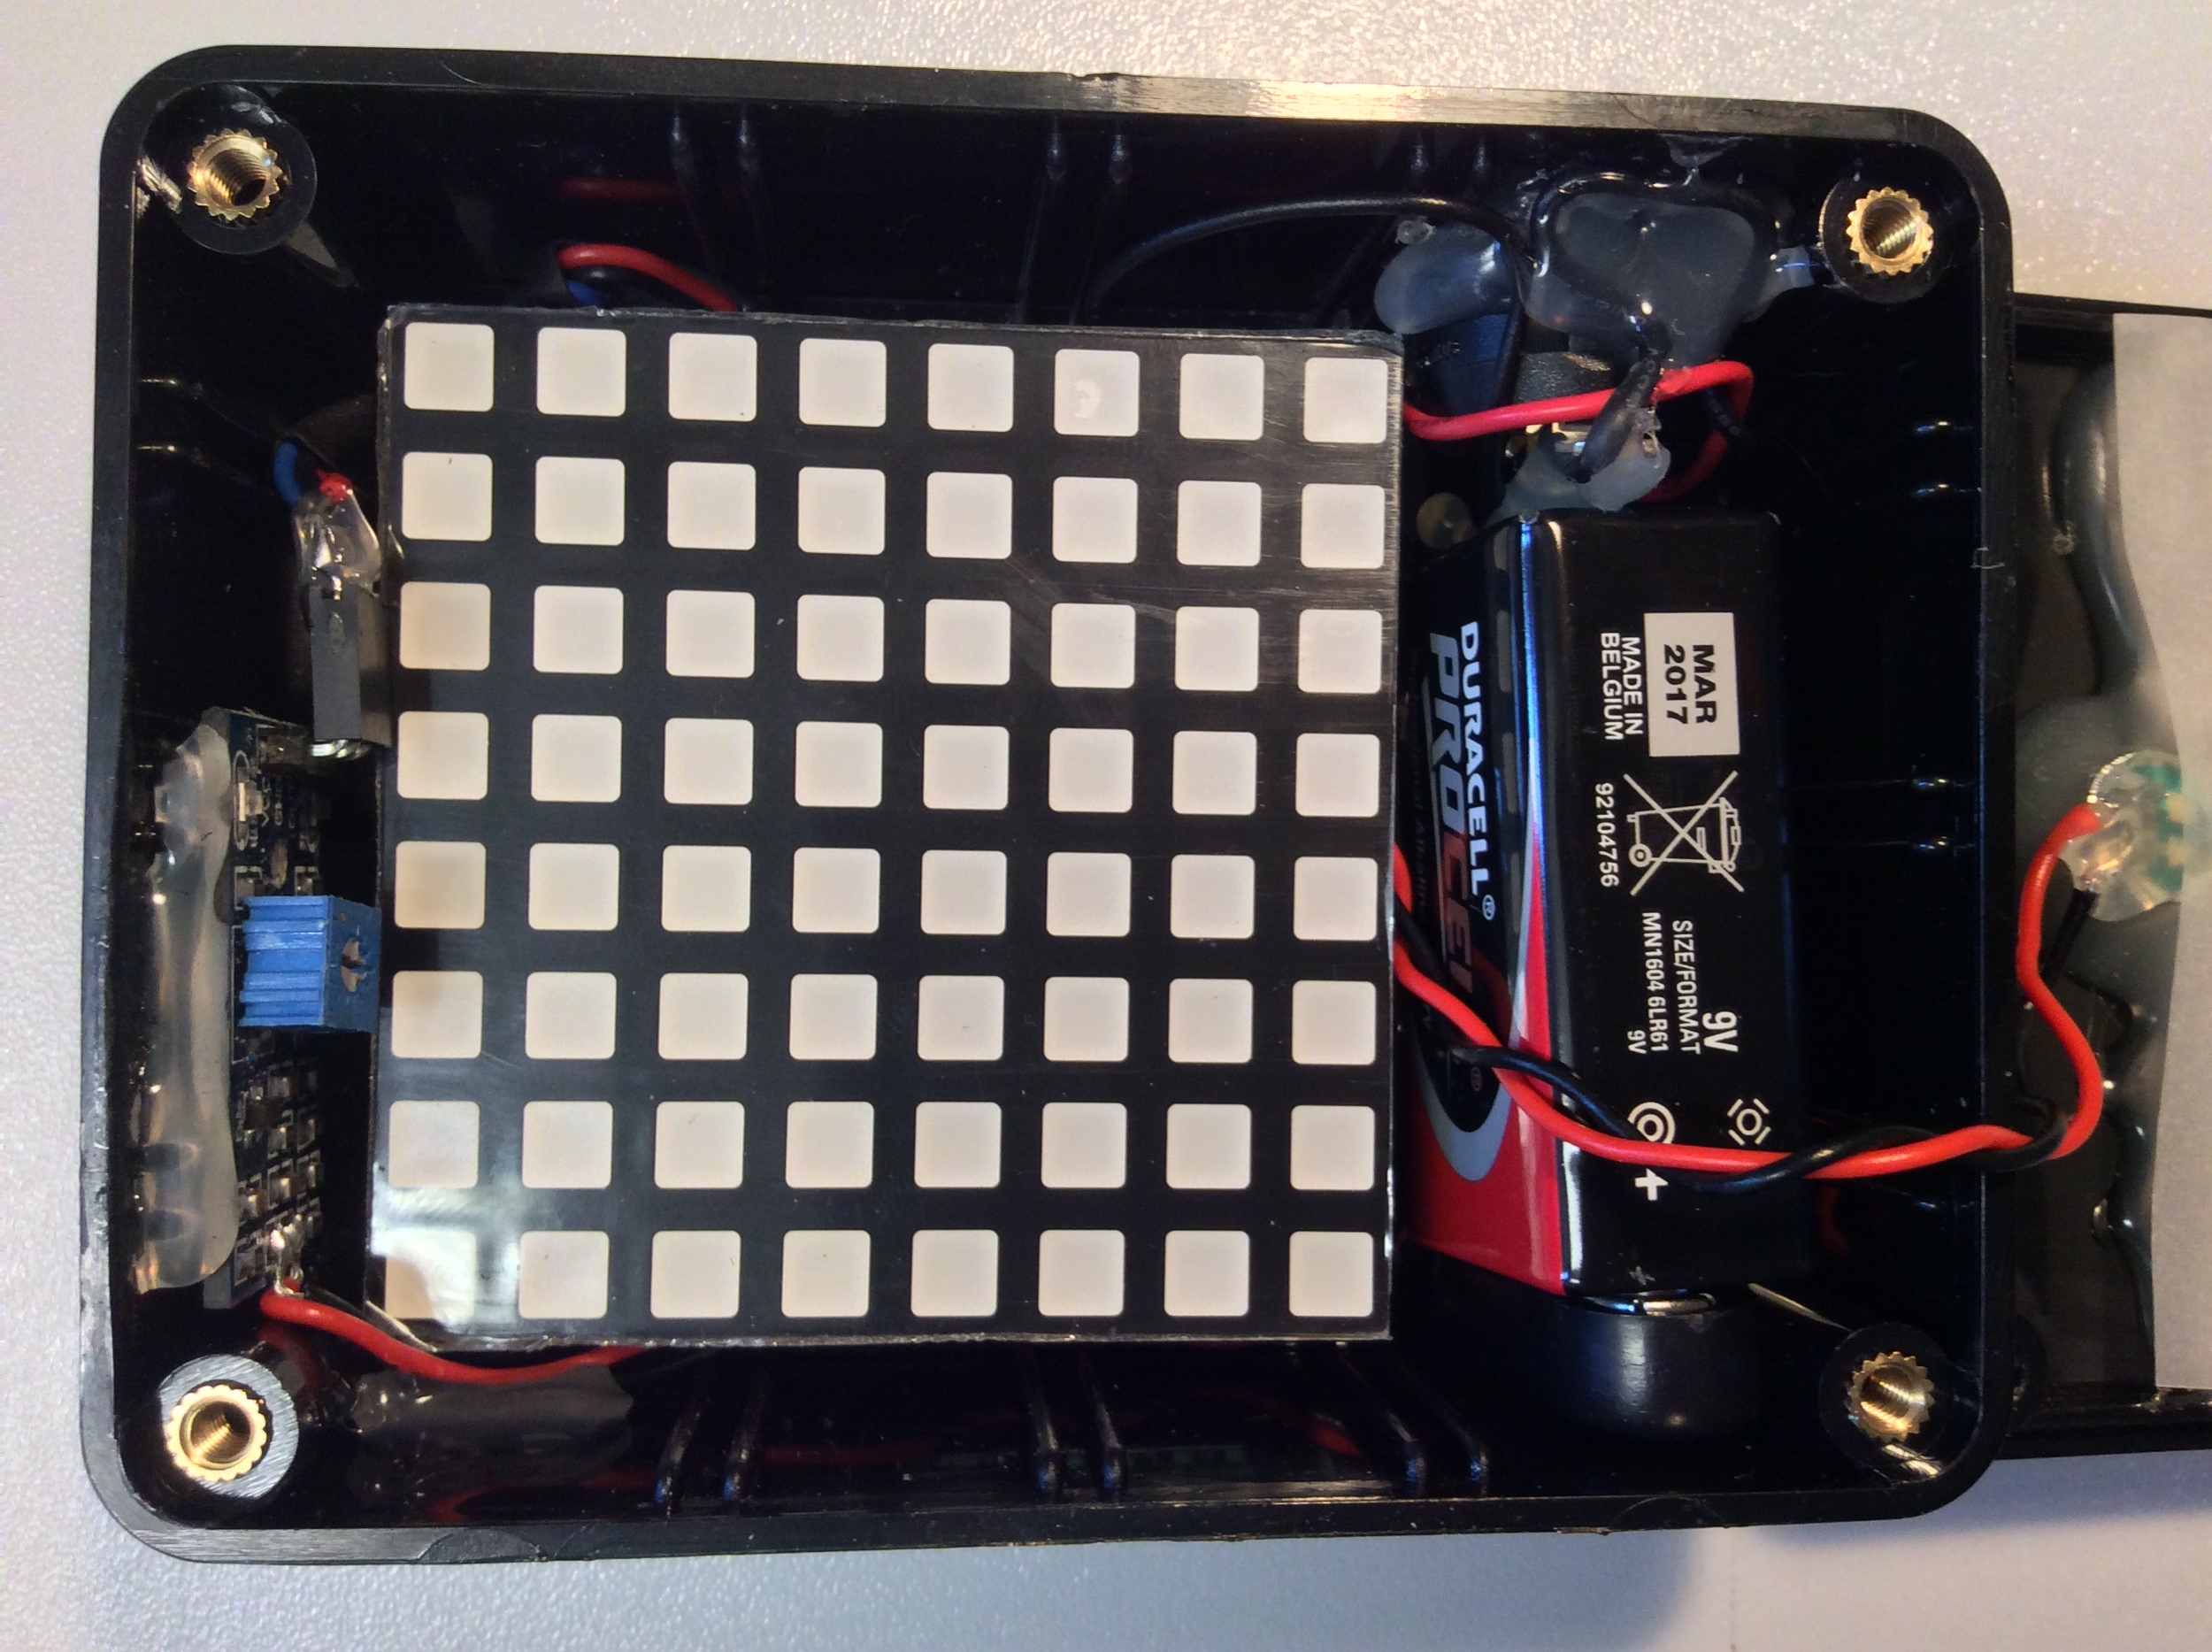
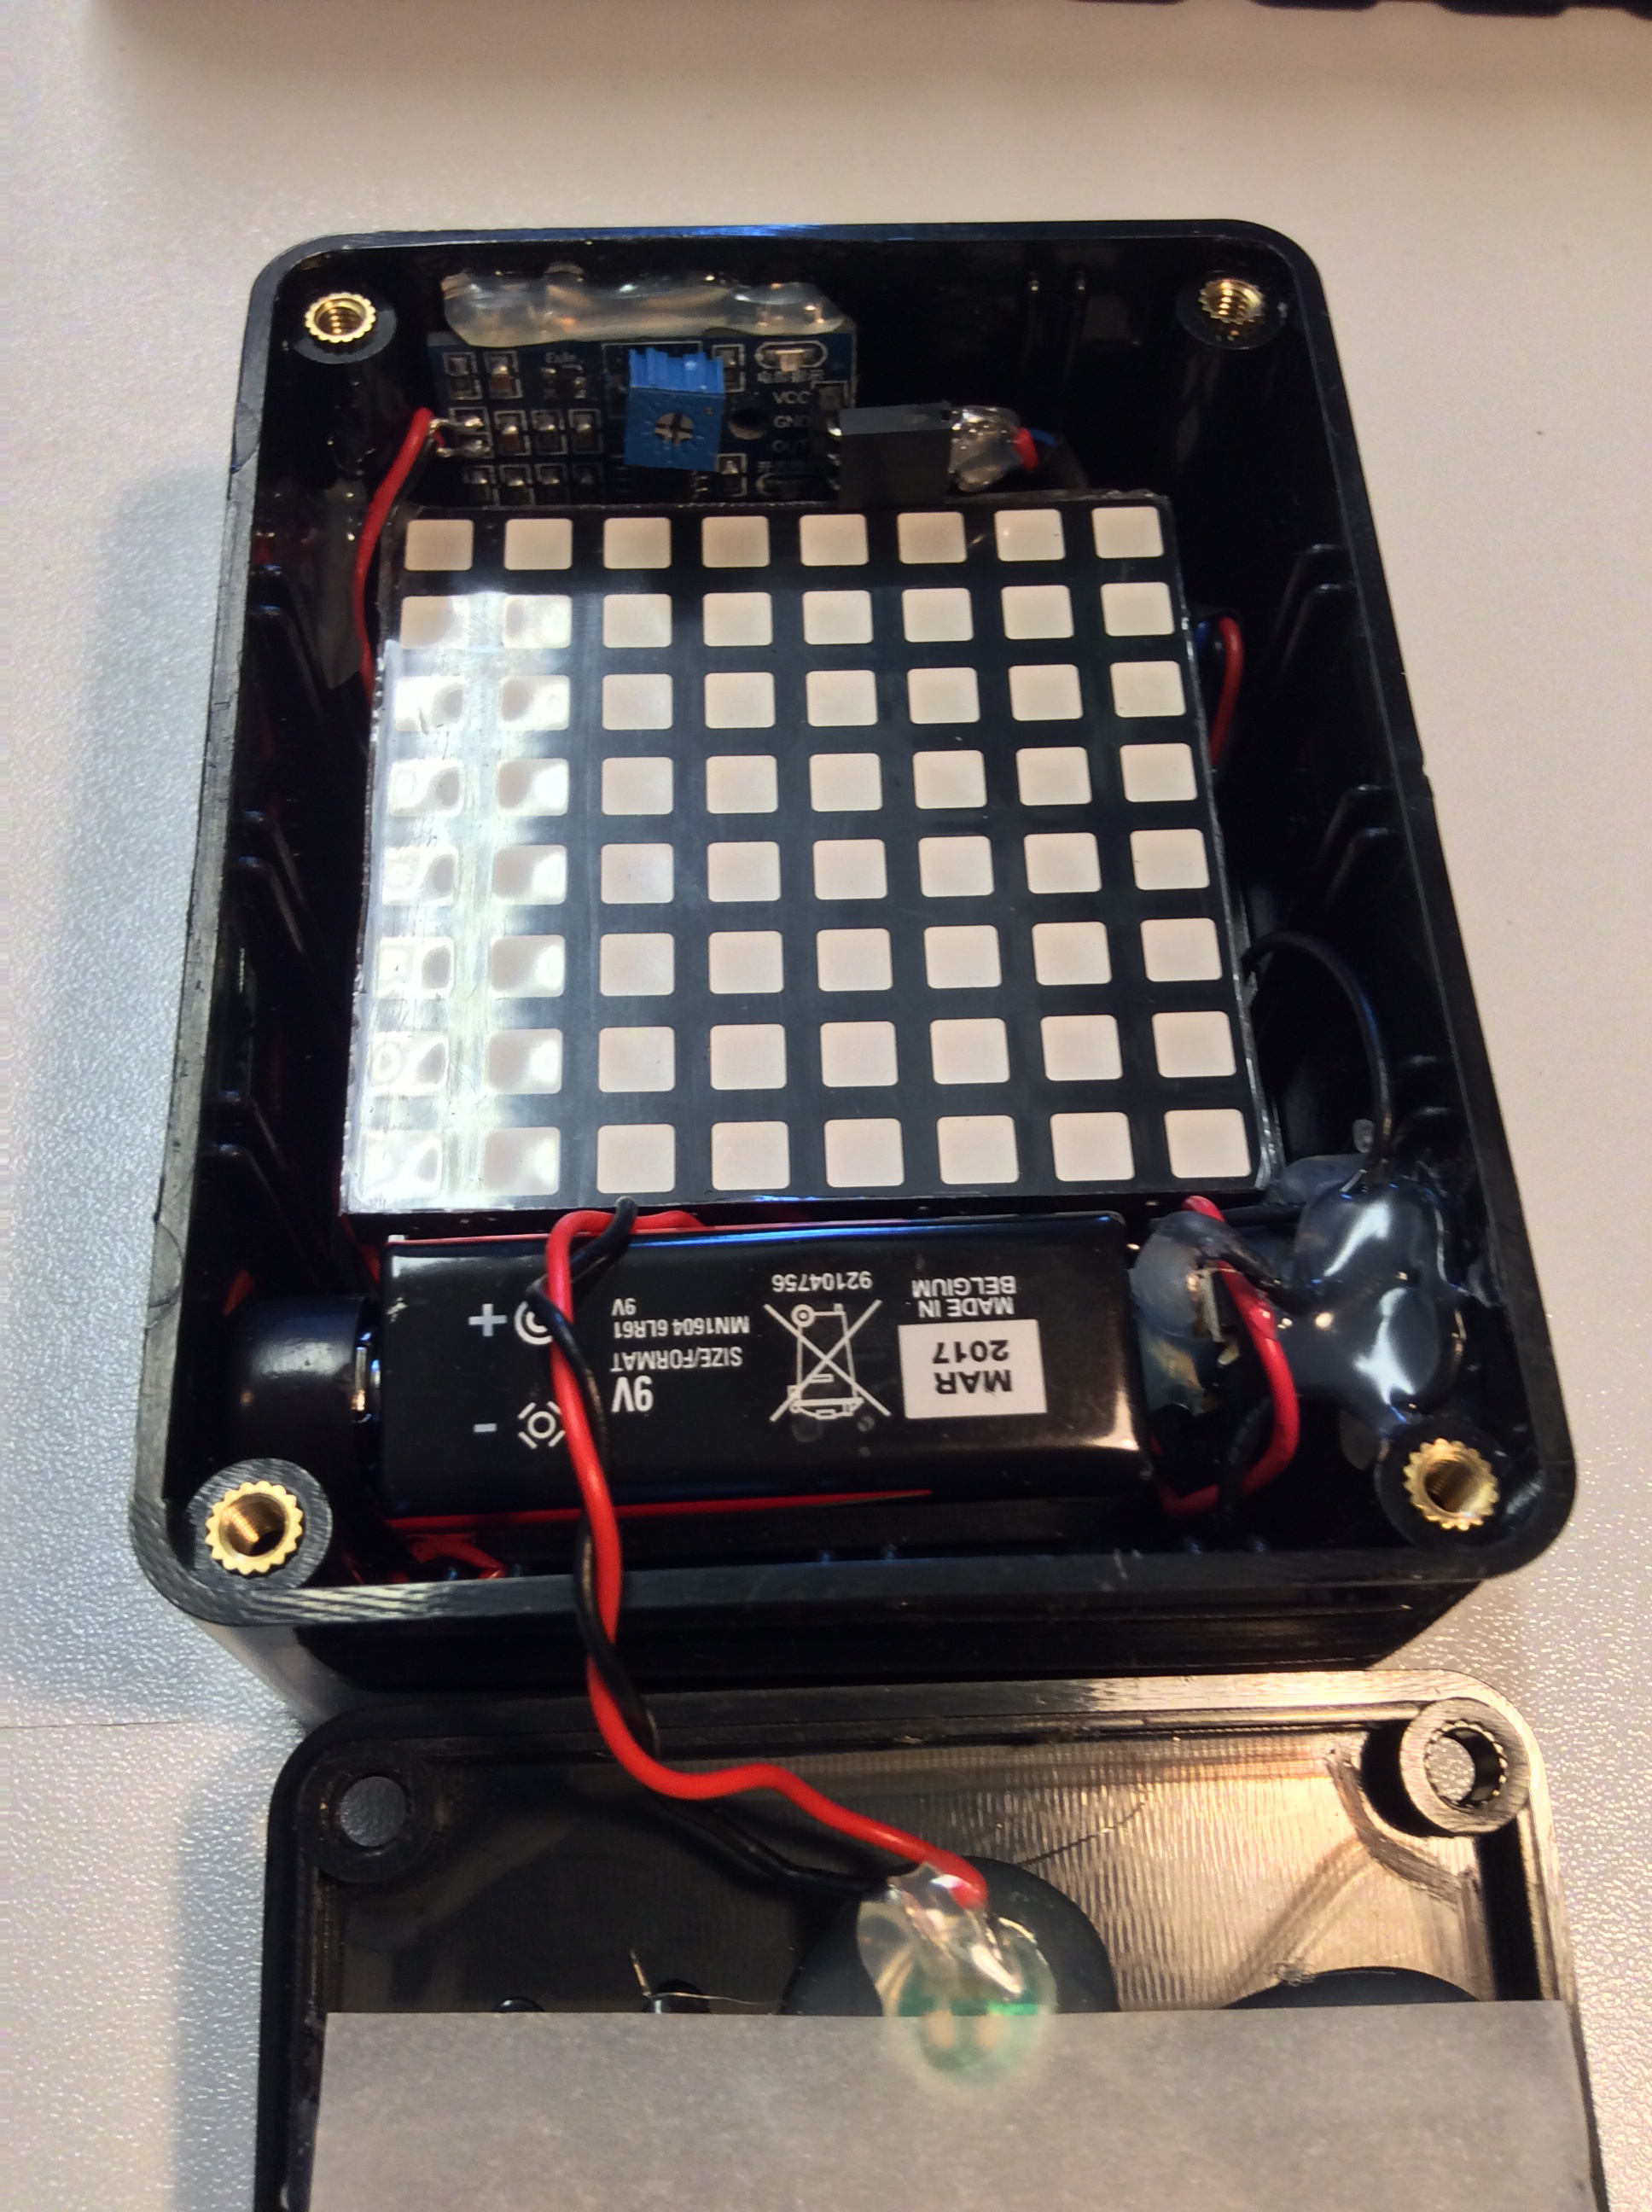
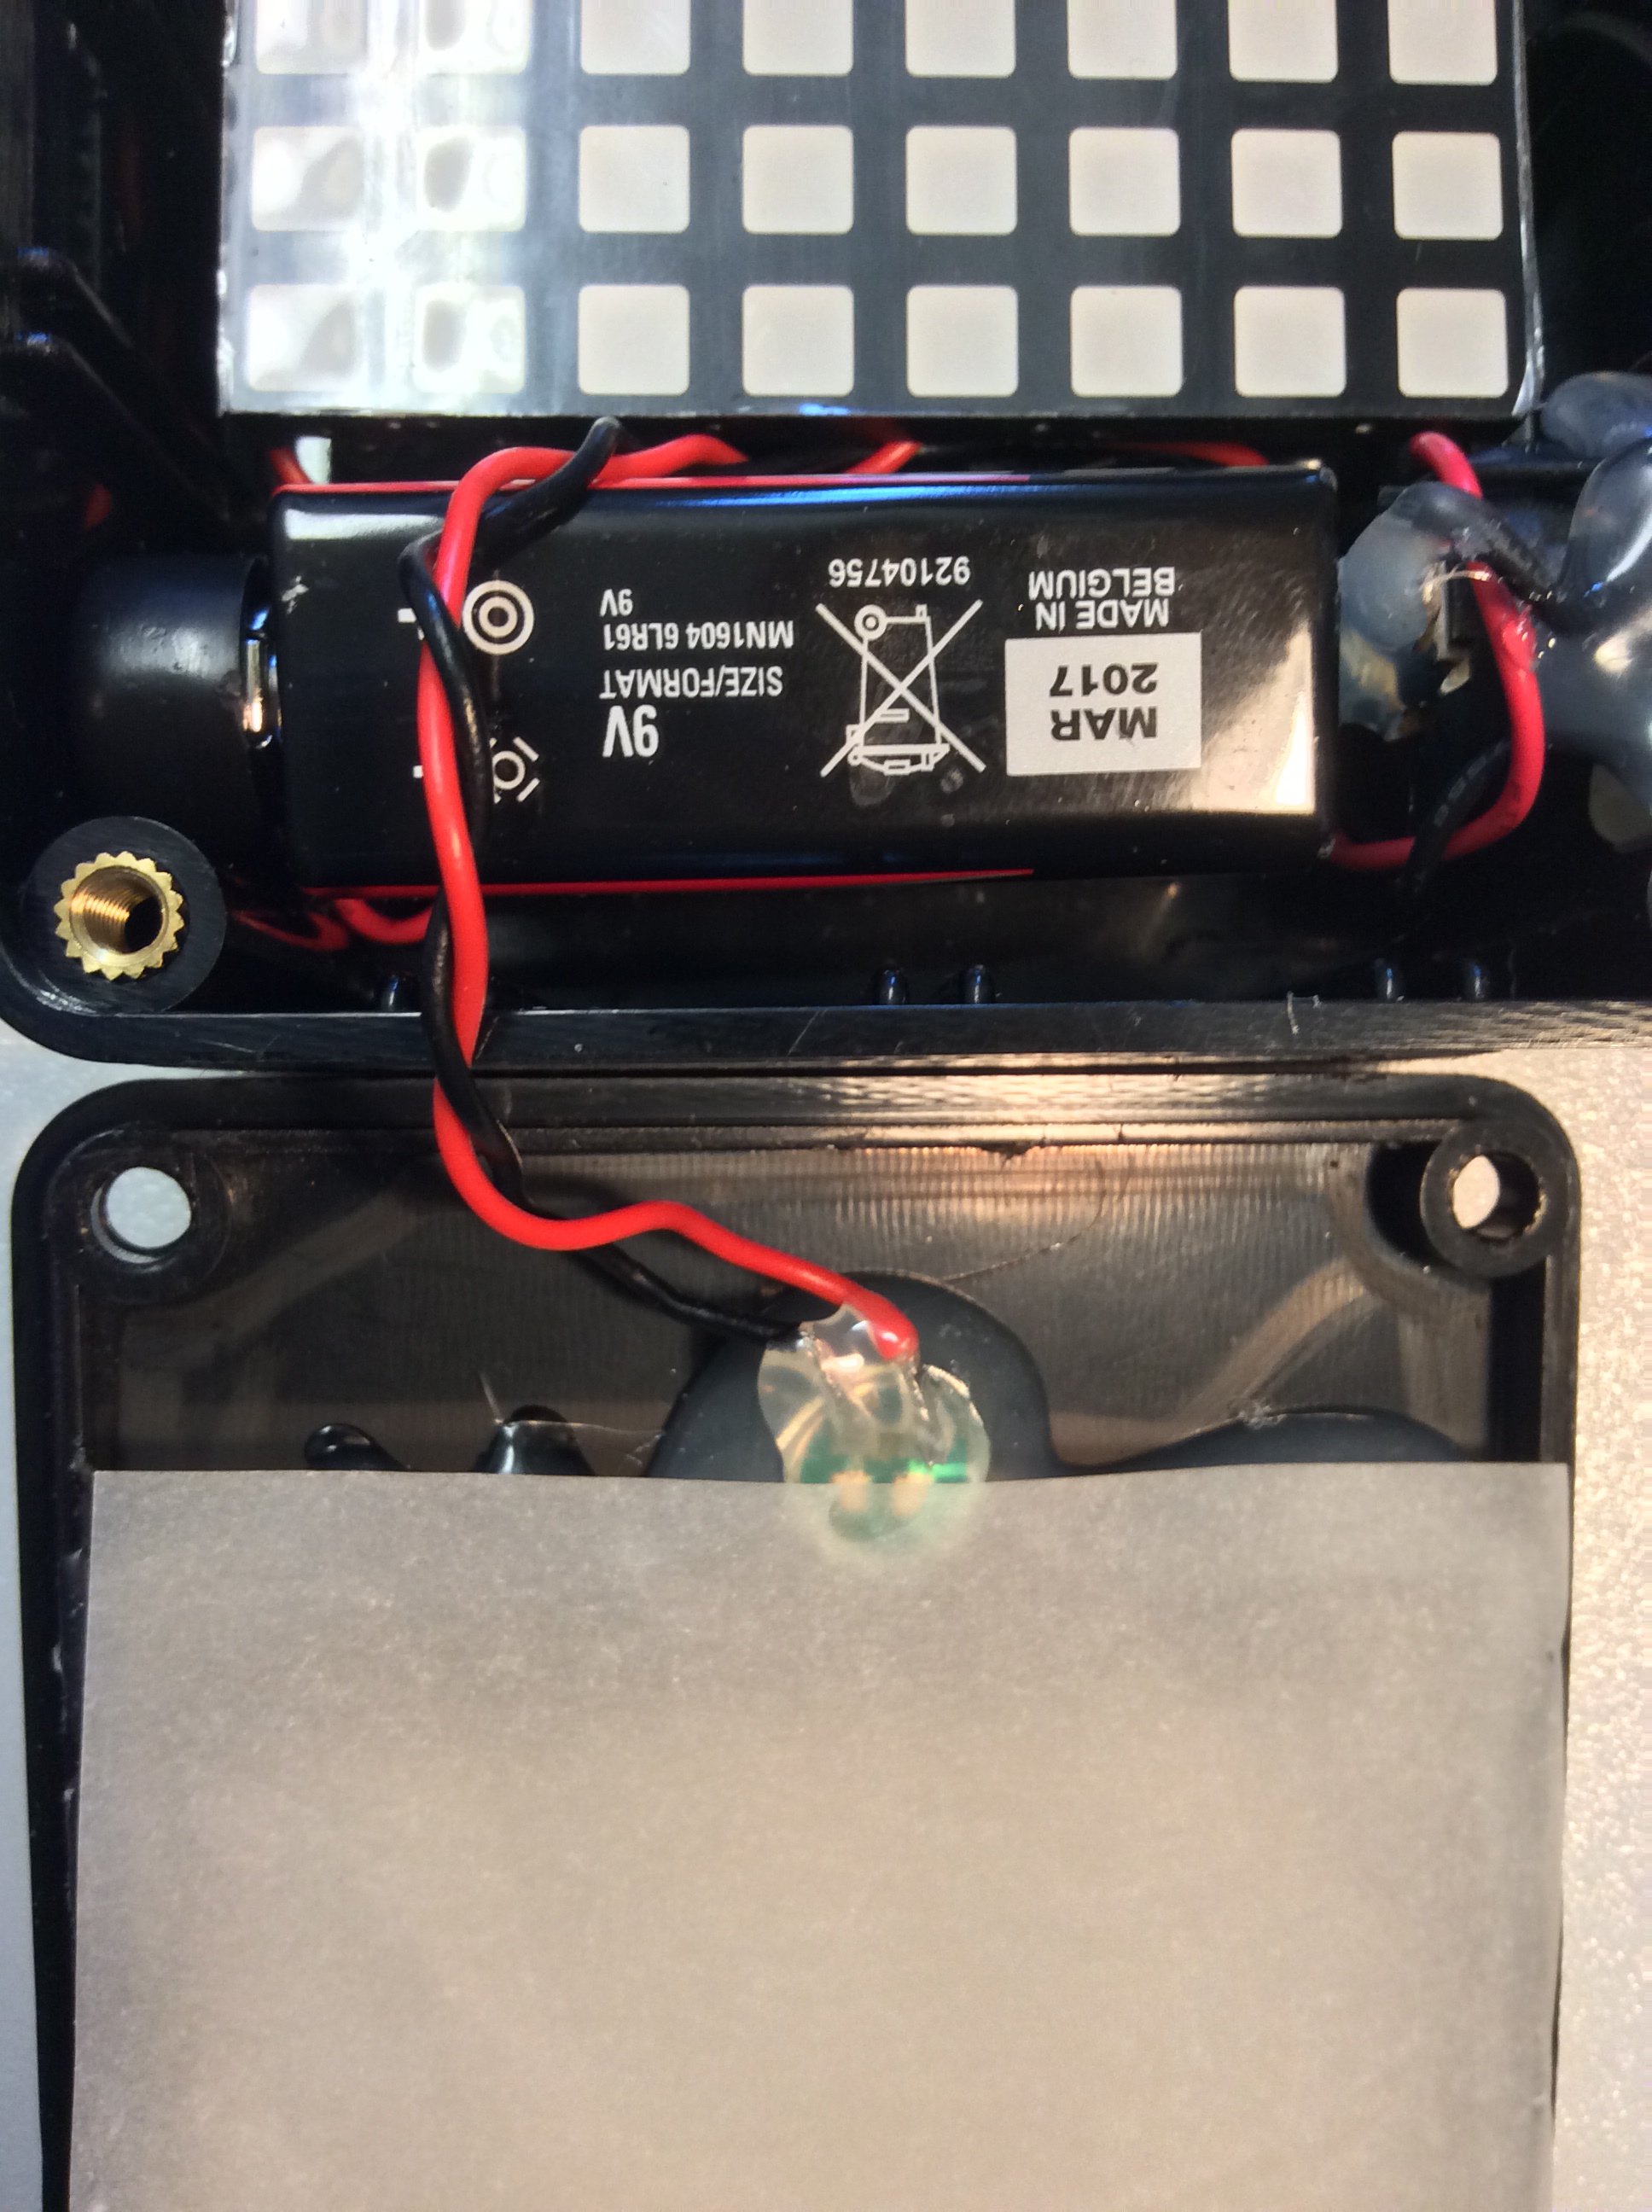
To fit the components in and put it all together was a bit of a squeeze as you can see from the pictures. The most important thing was to make sure any metal was covered with hot glue and that the components didn't jiggle around. We also wanted to make sure that the battery was easily changeable.
Here is how we did it:
- We put the switch through the hole and connected the ground to the Rainbowduino
- We connected the positive of the battery clip to the Rainbowduino
- We put a touch of hot glue to glue the board and matrix in
- Put the mic module so the red light is at the top and glued it in place, when the battery is running low the LED matrix will not light but the mic module light will remain lit.
- We placed the mic capsule behind the hole in the lid and glued it in place
Here are some pictures of the inside so you can better see the layout, click the images to go through the gallery (sometimes requires 2 clicks ;)):